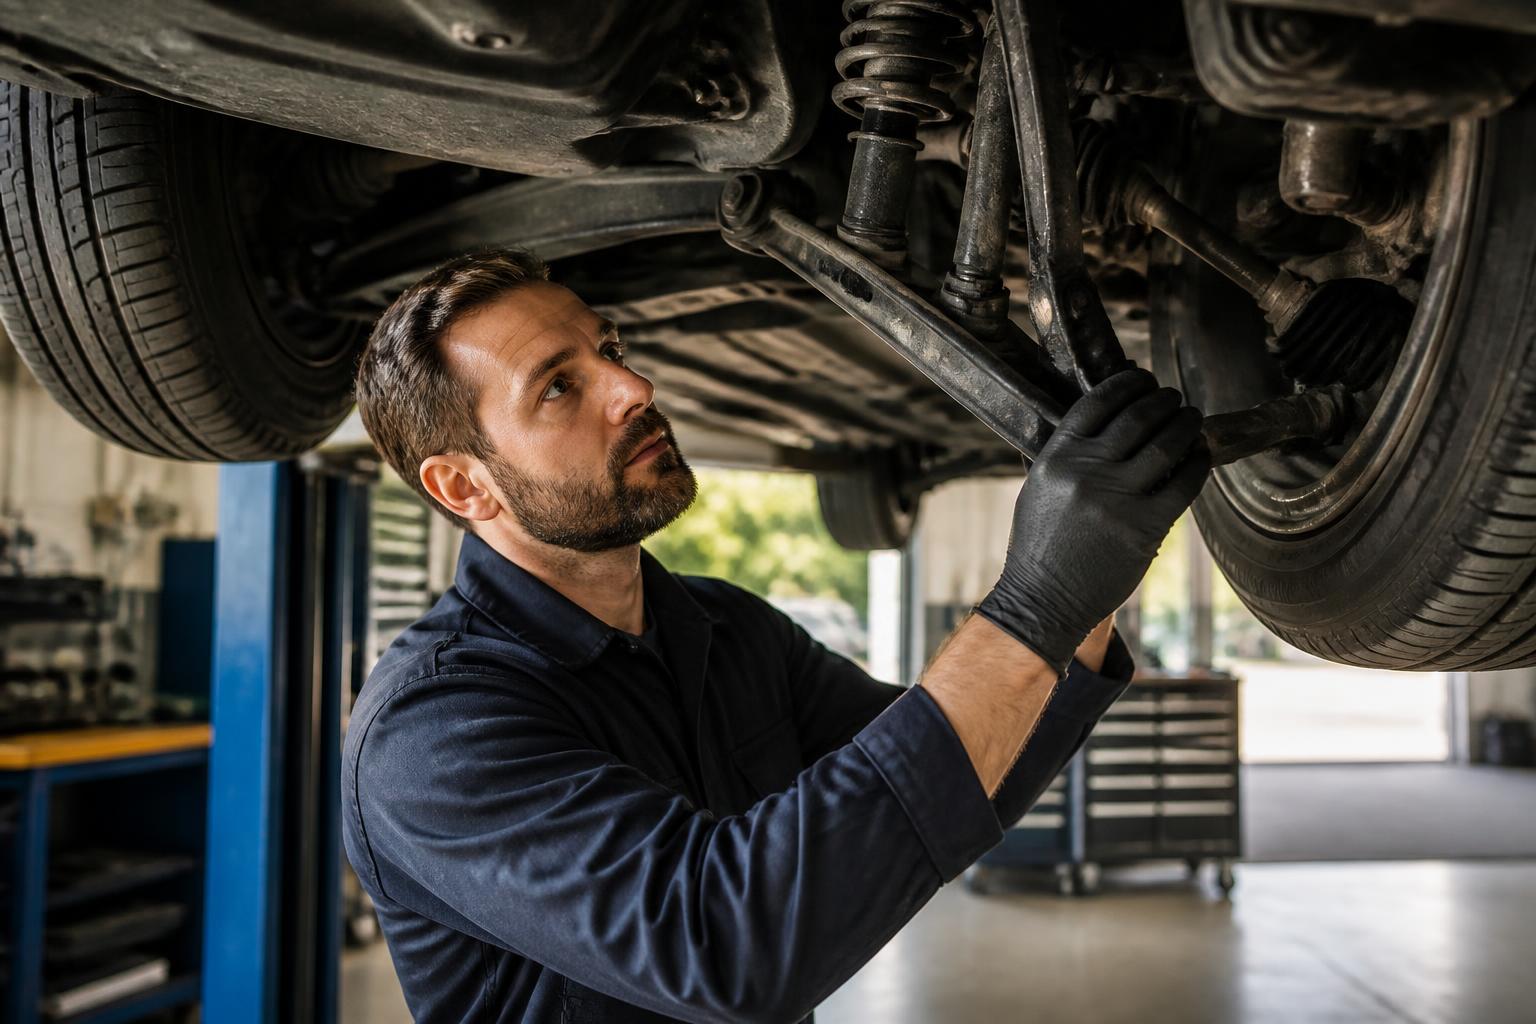
Suspension Noise, Struts, Shocks, and Control Arms: Diagnosis
A bad suspension typically announces itself as clunking, squeaking, rattling, or knocking over bumps, dips, or even smooth pavement. The most common culprits are worn ball joints, tie rods, struts, shocks, control arm bushings, or sway bar links. Getting the diagnosis right can save you hundreds in unnecessary repairs and prevent you from driving a dangerous vehicle.
What Each Suspension Noise Is Telling You
Each sound points to a specific failing part. Pay attention to the character and timing of the noise.
Clunking Over Bumps
A clunk when you hit a pothole or speed bump usually means a loose or worn component. Three frequent causes stand out.
- Ball joints – A lower ball joint that’s beginning to separate produces a single metallic clunk as the suspension loads and unloads. You might also feel the steering wander slightly. Quick test: turn the steering wheel left and right while parked. If you hear a pop, suspect a ball joint.
- Sway bar links – These inexpensive parts make a sharp clunk or rattle when the body rolls during turns or over single-wheel bumps. The noise is more noticeable at low speeds (5–15 mph) over uneven pavement.
- Control arm bushings – A worn bushing gives a dull thud or knock, sometimes with a steering wheel vibration at highway speeds. Unlike a ball joint clunk, this sounds more like a rubbery thump.
Squeaking or Squealing Over Bumps
A high-pitched squeak (like a rusty gate hinge) usually means dry, contaminated, or cracked rubber bushings. Common suspects include:
- Upper strut mounts – As the bearing dries out, the strut binds and squeaks during steering or over small bumps. You might hear it even in your driveway when turning the wheel.
- Control arm bushings – When the rubber splits and loses lubrication, it produces a repeating squeak with every bounce.
- Shock or strut – A seal failure that lets fluid escape can lead to metal-on-metal contact, resulting in a squeak or groan.
Rattling on Rough Roads
A constant rattle over washboard surfaces or brick roads usually points to a loose component.
- Tie rod ends – A loose inner or outer tie rod rattles as it vibrates. The noise often fades during turns because the load tightens the joint. To check, grab the tire at 3 and 9 o’clock and rock it. Play here confirms a tie rod issue.
- Shock or strut mounting hardware – If the top nut or bolt is loose, the shock body rattles against the mount. This is often a straightforward re-tightening, but if the mounting hole is egged out, replacement is needed.
Grinding or Groaning When Turning
A low groan or grinding sound while turning the steering wheel (especially at low speeds, like in a parking lot) is often a bad steering rack or power steering pump. But it can also come from a seized ball joint or failed wheel bearing. A wheel bearing hums or growls and changes pitch with speed, while a seized ball joint produces a loud creak or pop that stops when you stop turning.
How to Diagnose Suspension Noise in the Real World
You can narrow down the problem in about 30 minutes with basic tools and a safe workspace. Follow these steps in order, and stop if you find play that feels like metal-on-metal.
Step 1: Safety Prep
Park on level ground, chock the wheels, and set the parking brake. Jack up the front or rear and rest the car on stable jack stands. Never work under a car supported only by a jack. Lifting both sides makes the wheel-shake test easier.
Step 2: Bounce Test
Push down firmly on each corner and release. The car should rise and settle in one smooth motion. If it bounces more than twice, the shock or strut is worn. A visible oil film on the strut body confirms it’s leaking fluid and needs replacement. This test is a good first checkpoint, but it won’t catch worn ball joints or bushings.
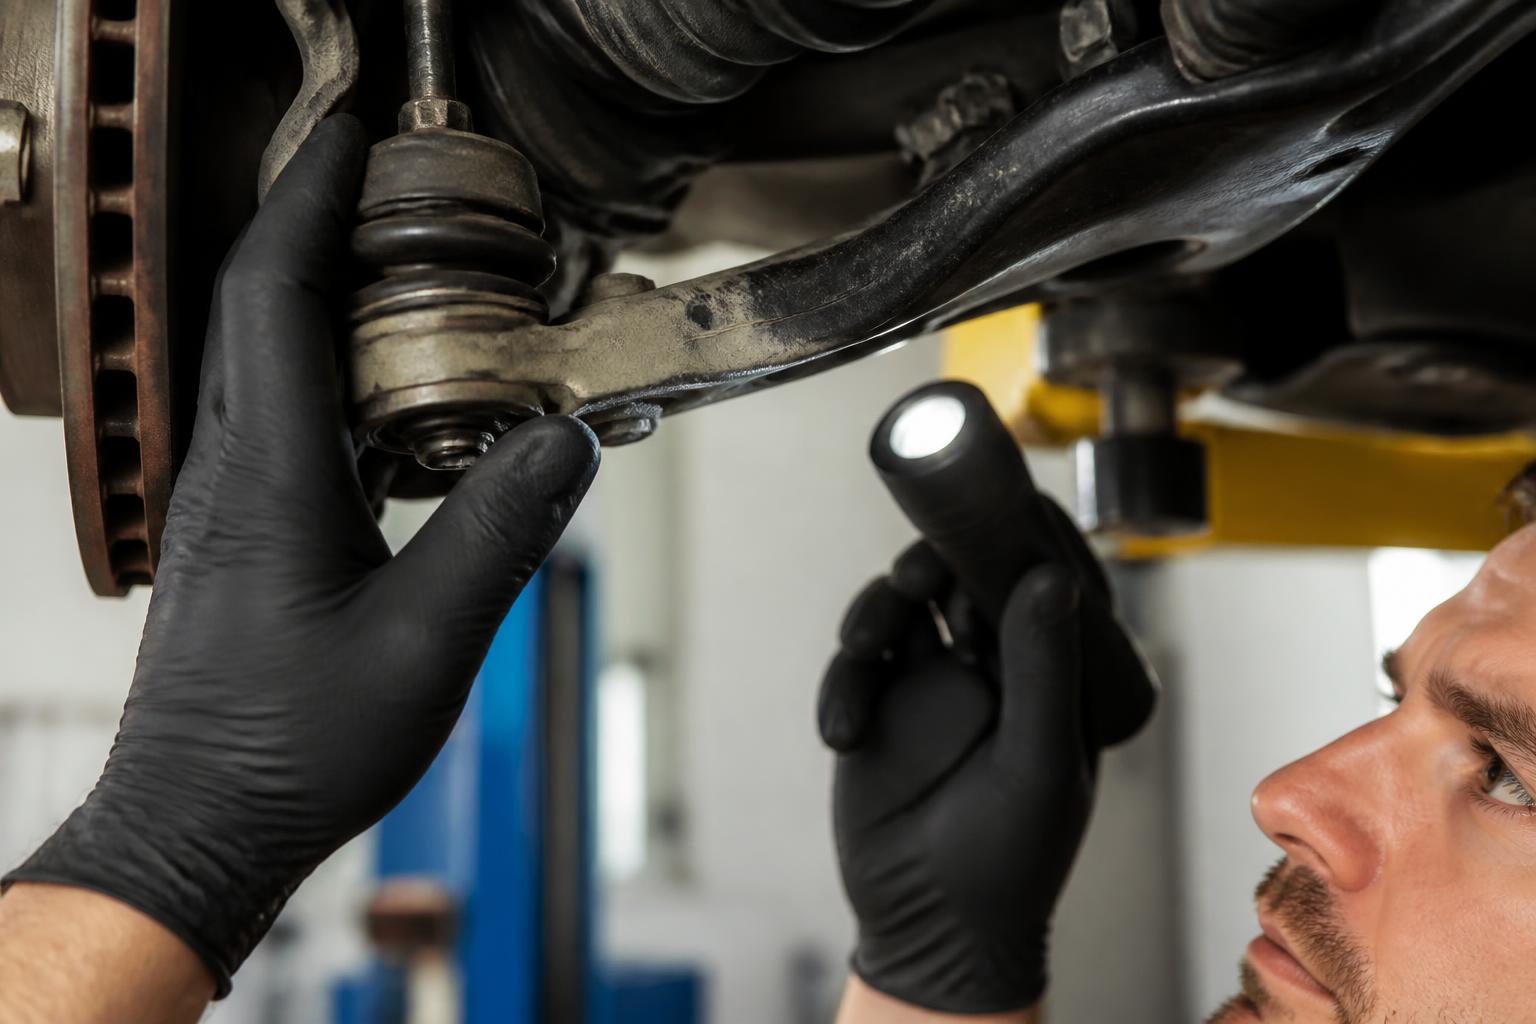
Step 3: Visual Inspection – What to Look For
With the car raised and the wheels hanging (suspension unloaded), examine each component.
- Ball joints – Check the rubber boot. A torn boot (even a small slit) lets grit in and grease out. Look for grease dripping from the joint – that means the seal has failed.
- Tie rod ends – Same boot check. Push and pull on the tie rod itself. If you feel more than a hair of movement, it’s loose.
- Control arm bushings – Look for cracks, splits, or rubber that has separated from the metal collar. Often the bushing squishes out sideways.
- Sway bar links – Grab the link and wiggle it. If it moves more than a few millimeters or makes a clunk, replace it.
- Struts and shocks – Look for oil leaks, dents in the shaft, or rust. A strut with a bent shaft is a safety hazard – don’t drive on it.
Step 4: Wheel Shake Test – The Key Distinction
Grasp the tire at 12 and 6 o’clock and rock it. Play in this direction means a loose wheel bearing or ball joint. Then grasp at 3 and 9 o’clock and rock. Play here points to tie rods or loose steering linkage. Have an assistant watch the components while you shake – you can often see exactly which joint moves. If both directions have play, both sides may be worn.
If you find play in only the 12/6 direction and the ball joint boot is intact, the part may still have internal wear that’s not visible. Replace it anyway – internal clearance is already excessive, and it will fail soon. If you find 3/9 play, you’ll need an alignment after replacing tie rods, so factor that into your cost decision.
Step 5: Road Test
Take a short drive over different surfaces. Listen for:
- Clunks only on the left or right side – That’s usually a ball joint or control arm on that side.
- Noise that changes with steering – Turning left loads the right side and may quiet a worn ball joint on the left. Turning right does the opposite.
- Noise that disappears when braking – Often a worn control arm bushing that unloads under deceleration.
- Noise that gets louder at highway speeds – Could be a wheel bearing (hum) or a separating ball joint (clunk). If it’s a clunk at highway speeds, pull over – you may have a serious failure.
Squeaks from strut mounts can be mistaken for ball joint noise. If you hear a squeak only when turning the steering wheel while parked, it’s almost certainly the strut mount bearing, not a ball joint. A ball joint rarely squeaks – it clunks or pops.
Can You Fix Squeaky Suspension Yourself? What Works and What Doesn’t
Simple DIY repairs that require basic tools include:
- Sway bar link replacement – Usually two nuts, no special tools. Cost: $20–$50 per link.
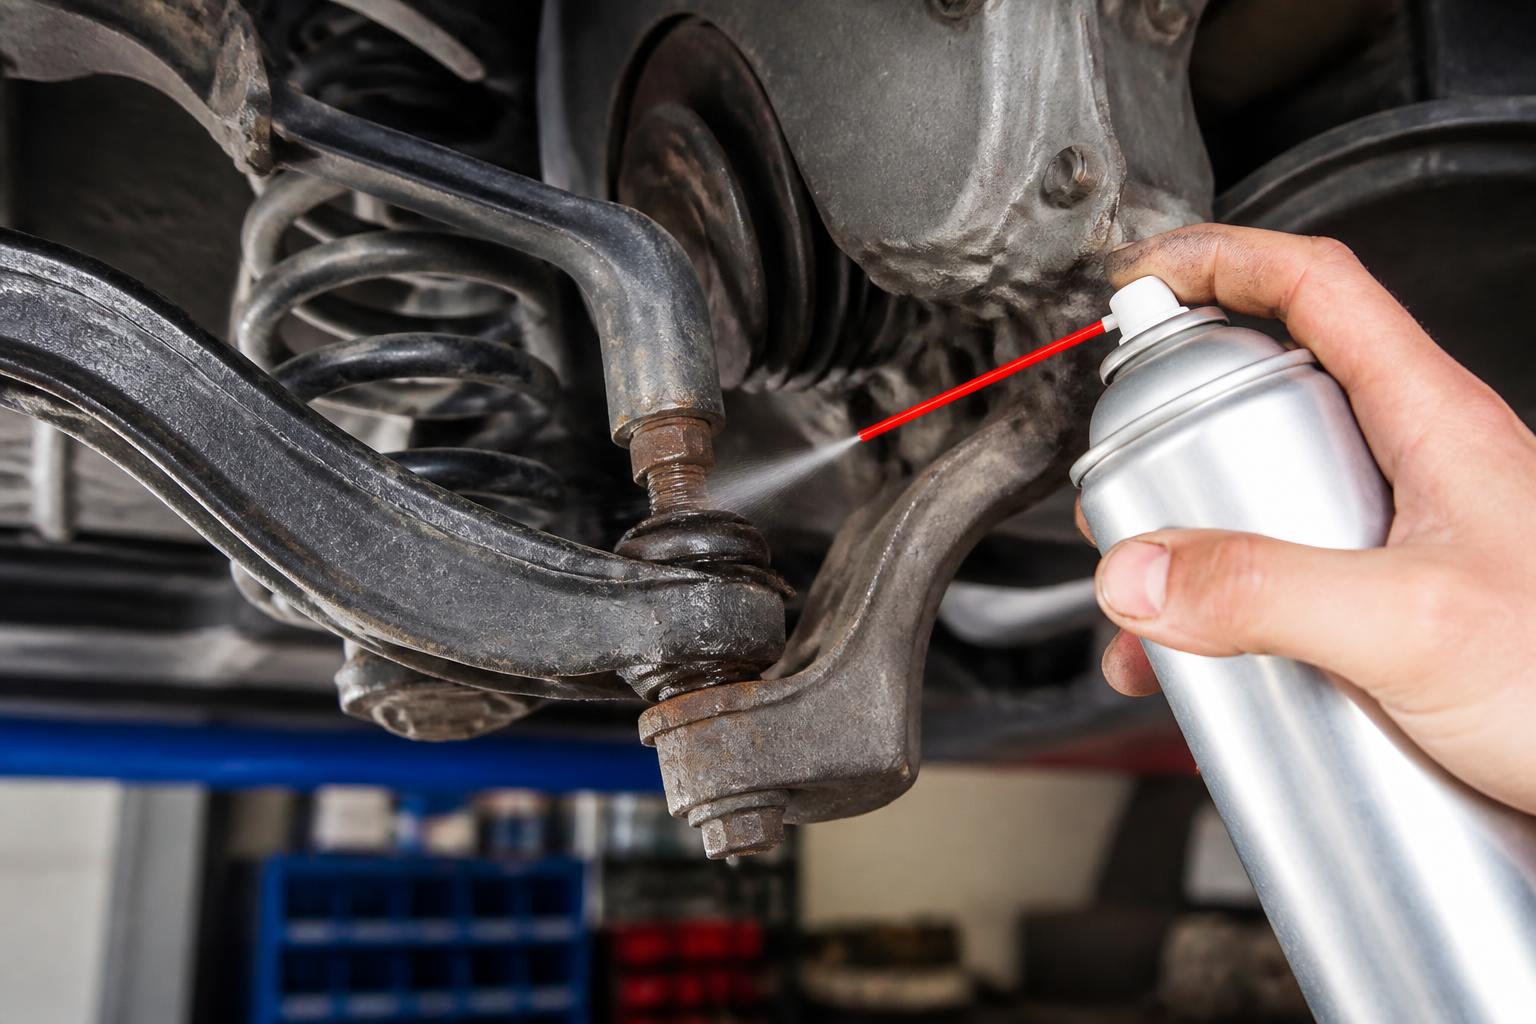
- Lubricating squeaky bushings – If the bushing is intact (no cracks), applying a silicone-based rubber lubricant can quiet it temporarily. But this is not a fix – the noise will return, and the underlying wear continues.
- Replacing a shock or strut assembly – On many modern cars, you can buy a pre-assembled “quick strut” with the spring already compressed. This is a direct swap: three top nuts, two lower bolts. No spring compressor needed. You’ll still need an alignment afterward because removing the strut changes camber.
When to stop and go to a mechanic:
- Ball joint or tie rod replacement – This requires a ball joint press or pickle fork. The risk: you can damage the knuckle or hub if you use the wrong tool. After replacement, you must get an alignment – driving without one will wear new tires in 1,000 miles.
- Control arm replacement – Many control arms come as complete units (with ball joint and bushings pre-installed). That’s easier than pressing old bushings out, but you still need a ball joint separator and torque wrench. Expect $200–$600 per side at a shop.
- Any noise accompanied by steering play – That’s a safety stop. A separated ball joint can collapse the wheel. Tow it.
Cost trade-off: Doing a sway bar link yourself costs $30–$80. Doing a full strut yourself saves $200–$300 in labor per corner. But a shop that does the job in 2 hours might also catch other worn parts you missed, potentially saving you from a repeat visit.
How Long Does a Suspension Last? Realistic Mileage Ranges
| Component | Typical Lifespan (miles) | Common Early-Failure Signs |
|---|---|---|
| Shock/strut | 50,000–100,000 | Leaking fluid, bouncy ride, nose dive under braking |
| Ball joint (non-sealed, greasable) | 70,000–100,000 | Torn boot, play at 12/6, clunk |
| Ball joint (sealed) | 60,000–90,000 | Same, but no way to re-grease |
| Control arm bushing | 70,000–100,000 | Thumping, vibration, off-center steering |
| Tie rod end | 60,000–90,000 | Wheel play at 3/9, steering wander |
| Sway bar link | 40,000–70,000 | Sharp clunk over single bumps, especially in turns |
If your car has 80,000+ miles and you haven’t replaced any suspension parts, assume at least the struts and sway bar links are marginal. Inspect them before buying new tires – worn suspension wears tires unevenly, wasting the cost of the rubber.
Is It Expensive to Fix Suspension Issues? A Realistic View
Costs vary widely by vehicle make and shop labor rate, but here are ballpark ranges:
- Sway bar link – $30–$80 part, DIY in 30 minutes.
- Ball joint – $100–$300 per side installed. The part is cheap ($30–$60), but labor and alignment add up.
- Control arm assembly (complete) – $200–$600 per side. Some Honda and Toyota arms cost $75, while BMW arms can be $400–$600 each.
- Strut assembly (quick strut) – $200–$500 per corner, plus $100–$150 for alignment after both fronts or rears are done.
If you replace only one ball joint, the other side may fail soon after, and you’ll pay for alignment again. Many shops recommend replacing as a pair (both sides) for even wear. A full four-wheel alignment costs $100–$150, but if you only do front suspension work, you can often get a front-only alignment for $70–$100.
Early Detection Guide: When to Act vs When to Wait
Use these five checks. If any apply, schedule repair immediately.
1. Noise accompanied by steering wheel vibration or pull – This means a component is loose enough to affect alignment. Could be a ball joint or tie rod. Drive only to the shop.
2. Visible grease leak from a ball joint or tie rod boot – The joint is already contaminated. It will fail within a few hundred miles. Replace now.
3. Car bounces more than twice after the bounce test – Worn shocks and struts reduce braking performance by 15–20% on wet roads. Replace them.
4. 12/6 or 3/9 wheel play – That’s metal-on-metal movement. The part can separate while driving. Do not drive unless you can confirm it’s a sway bar link (which is less critical).
5. Clunk that gets louder or more frequent – The failure is progressing. A ball joint that clunks today may snap next week. Get it inspected.
When you order replacement parts, double-check that the ball joint or control arm matches your car’s year, model, and engine (or VIN). Some models (e.g., 2013–2015 Ford Escape) have two different lower control arms depending on AWD vs FWD. The wrong part won’t bolt up or will alter your steering geometry. Use the online parts catalog at a trusted retailer (RockAuto, OEM dealer site) to confirm the part number before buying.
FAQ: Common Follow-Up Questions
What does a bad ball joint sound like while driving?
A single metallic clunk or pop when the suspension compresses and rebounds – often going over a speed bump or a dip while turning slightly. It’s not a continuous rattle.
Can tie rods clunk over bumps?
Yes, but the noise is more of a rattle or light knock that changes with steering angle, not the deep thud of a ball joint. The 3/9 o’clock wheel shake test will confirm.
How to tell if it’s a ball joint or tie rod?
Use the wheel shake test: 12/6 play means ball joint or wheel bearing; 3/9 play means tie rods. If both directions have play, both could be worn.
Can you drive with a noisy suspension?
If it’s only a mild squeak and no play is detected, you can drive short distances (under 50 miles) to a shop. But any clunk accompanied by wheel play or steering wander means stop driving – tow it.
How serious is a failing suspension?
Very serious. A failed ball joint or control arm can cause the wheel to collapse while driving, leading to loss of control. Worn shocks increase stopping distance by 15–20% on wet roads. Never ignore noise with play.
What is the life expectancy of a car suspension?
Most OEM components last 60,000–100,000 miles. Shocks and struts often wear out around 50,000 miles, while sway bar links may fail as early as 40,000 miles.
Explore This Topic
- Back to Suspension Noise Struts
- Back to Automotive Repair
Related guides in this cluster:
- Transmission Slipping and Shifting Problems: Diagnosis Guide
- Exhaust Smoke Color: White, Blue, Black — Diagnosis Guide
- Head Gasket Failure, Oil Leaks, and Engine Seal Diagnosis

Greedy Wheels is the founder and lead editor at Wheels Greed. With over 15 years of hands-on automotive experience — from rebuilding engines in a home garage to managing fleet maintenance for a regional logistics company — he brings real-world mechanical knowledge to every guide.
His work has been featured in automotive forums, owner communities, and dealership training materials. When he’s not researching the latest car owner questions, you’ll find him at a local track day, wrenching on his project car, or testing the newest OBD2 diagnostic tools.
At Wheels Greed, every article is reviewed against manufacturer service manuals, NHTSA bulletins, and verified owner reports. No AI-generated fluff. No guesswork. Just practical answers from someone who has turned the wrench.