Opening Your Subaru Key Fob: Step-by-Step
If you need to access the inside of your Subaru key fob, most commonly to replace the battery or retrieve the emergency key, the process is straightforward. You’ll typically need a small flathead screwdriver or a plastic trim tool to gently separate the two halves of the casing, usually starting at a specific notch designed for this purpose.
Identify the Key Fob’s Pry Point
To begin opening your Subaru key fob, locate the seam where the front and back plastic halves meet. Most Subaru key fobs have a small indentation or a slightly wider gap along this seam, which serves as the intended starting point for separation. This notch is often found on the end of the fob opposite the key ring attachment point. Using a small, flathead screwdriver or a plastic trim removal tool is recommended to avoid scratching the fob’s surface.
Step-by-Step Guide to Opening the Fob
1. Locate the Seam and Notch: Carefully examine the perimeter of your key fob to find the seam where the two casing pieces join. Identify the small notch or slight gap designated for prying.
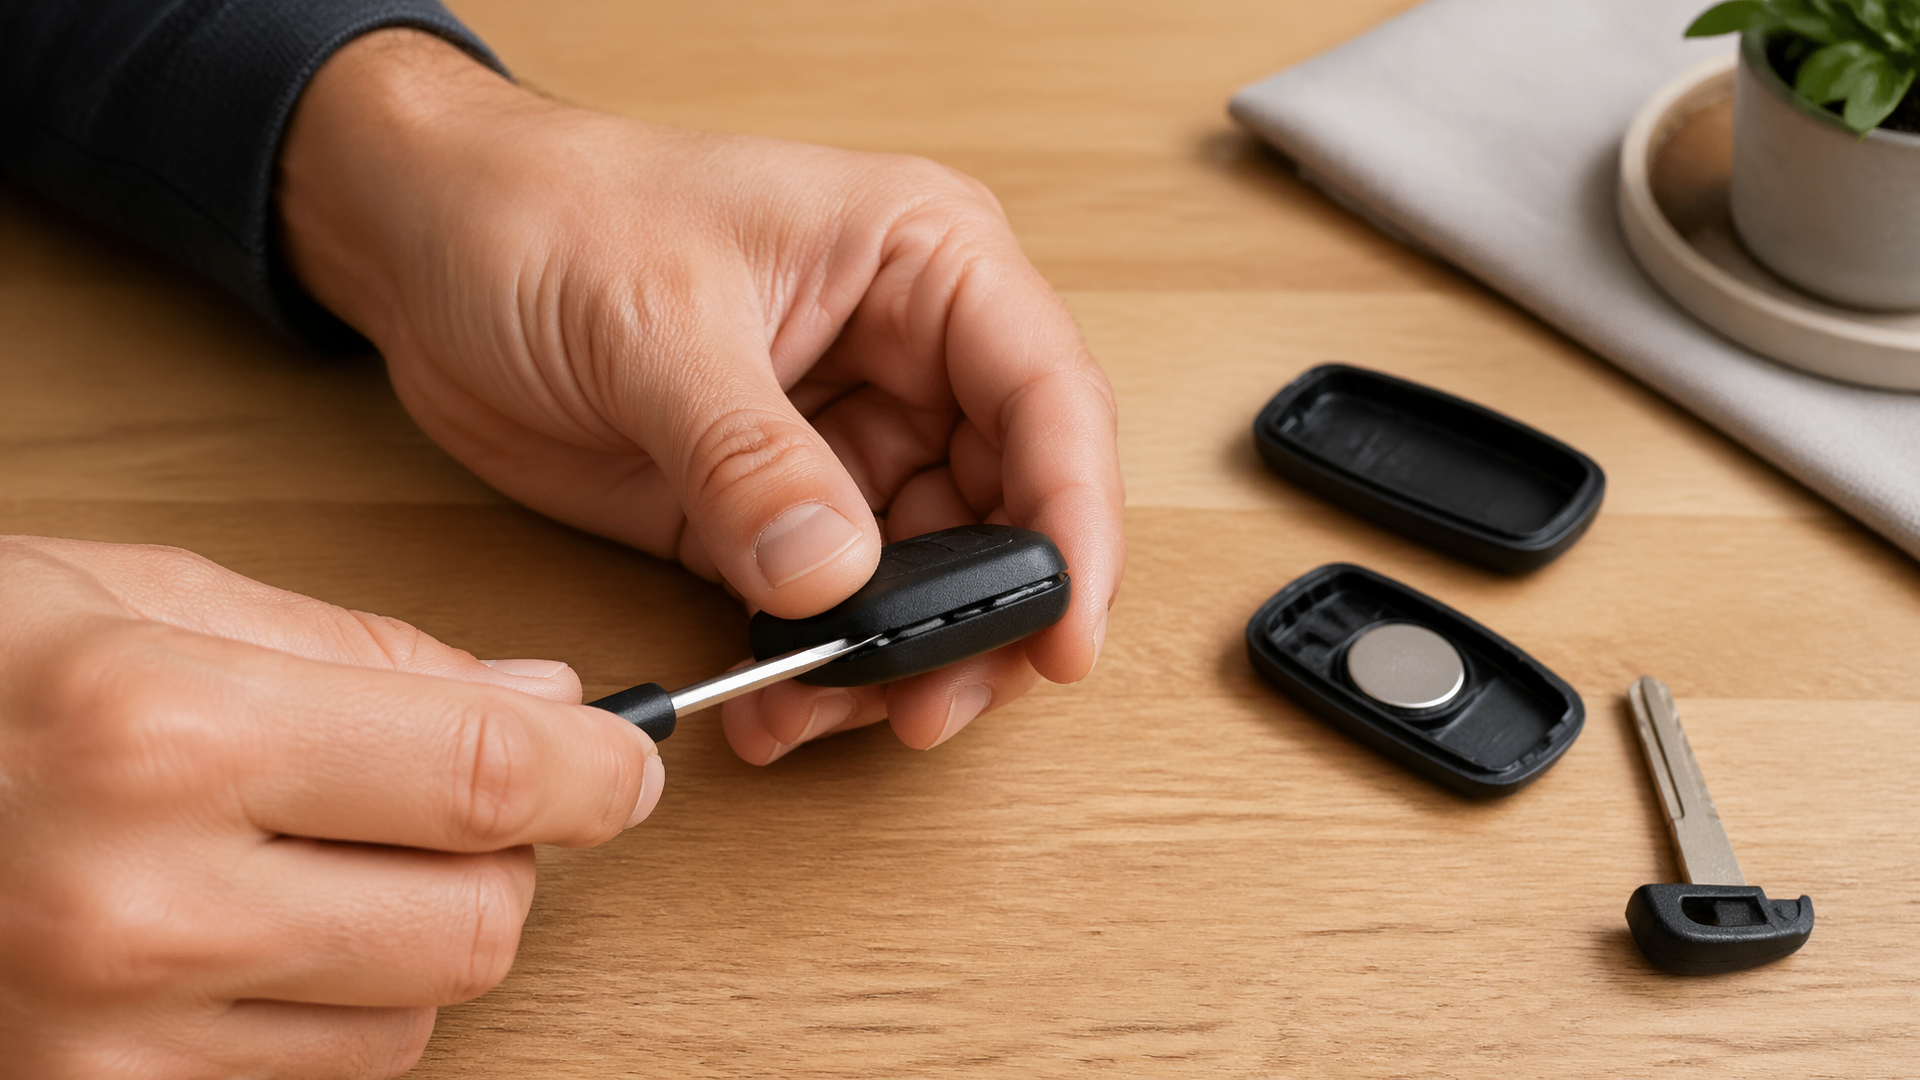
2. Insert the Tool: Gently insert the tip of your flathead screwdriver or plastic trim tool into the identified notch.
3. Apply Gentle Leverage: Twist the tool slightly to create an initial gap between the two halves. Once a small opening is visible, carefully work the tool along the seam, applying steady, gentle pressure to separate the casing. It is crucial to proceed slowly and avoid excessive force to prevent cracking or damaging the plastic.
4. Separate the Halves: Continue this careful prying motion around the seam until the key fob casing separates into two pieces. Be aware that internal components, such as the battery or the physical emergency key, may become loose as the fob opens.
What If the Fob Is Stuck?
If your Subaru key fob resists opening, ensure you are using the correct pry point. Some models have very subtle notches that can be easily missed. If you’ve applied gentle pressure at the identified spot and it’s still difficult to separate, try slightly repositioning your tool or applying a very gentle rocking motion. However, if significant force seems required, stop immediately to prevent damage.
Replacing the Key Fob Battery
Once the key fob casing is open, you will see the internal battery. This is typically a small, coin-cell battery, such as a CR2032. Before removing the old battery, observe its orientation within the fob. Carefully lift the old battery out. Insert the new battery, making sure it is seated correctly and that the positive (+) side is facing the appropriate direction as indicated inside the fob.
Reassembling Your Subaru Key Fob
To reassemble your key fob, reverse the steps you took to open it. Align the two halves of the casing and press them firmly together until they snap securely into place. Run your finger around the seam to confirm that the casing is sealed tightly and feels solid with no visible gaps.
Verifying Successful Reassembly
After reassembling the key fob, test all the buttons to ensure they are functioning correctly. If your fob contains a physical emergency key, reinsert it into its slot to confirm it fits and operates as expected. A properly reassembled fob will be sealed tightly, and all its functions should be restored.
When to Seek Professional Assistance
If you encounter significant difficulty opening your Subaru key fob, or if you suspect you may have damaged any internal components or the casing during disassembly, it is advisable to stop. Applying excessive force can lead to irreparable damage to the electronics or the fob’s structure. In such situations, consult your Subaru owner’s manual for model-specific guidance or contact a Subaru dealership or a qualified automotive locksmith for professional assistance.

Greedy Wheels is the founder and lead editor at Wheels Greed. With over 15 years of hands-on automotive experience — from rebuilding engines in a home garage to managing fleet maintenance for a regional logistics company — he brings real-world mechanical knowledge to every guide.
His work has been featured in automotive forums, owner communities, and dealership training materials. When he’s not researching the latest car owner questions, you’ll find him at a local track day, wrenching on his project car, or testing the newest OBD2 diagnostic tools.
At Wheels Greed, every article is reviewed against manufacturer service manuals, NHTSA bulletins, and verified owner reports. No AI-generated fluff. No guesswork. Just practical answers from someone who has turned the wrench.